How can I frame my finished embroidery? A photo tutorial.
Save over 50% on frame manufacturing costs at a framing agency. Take a look at the photos below and you'll be surprised how easy it is.
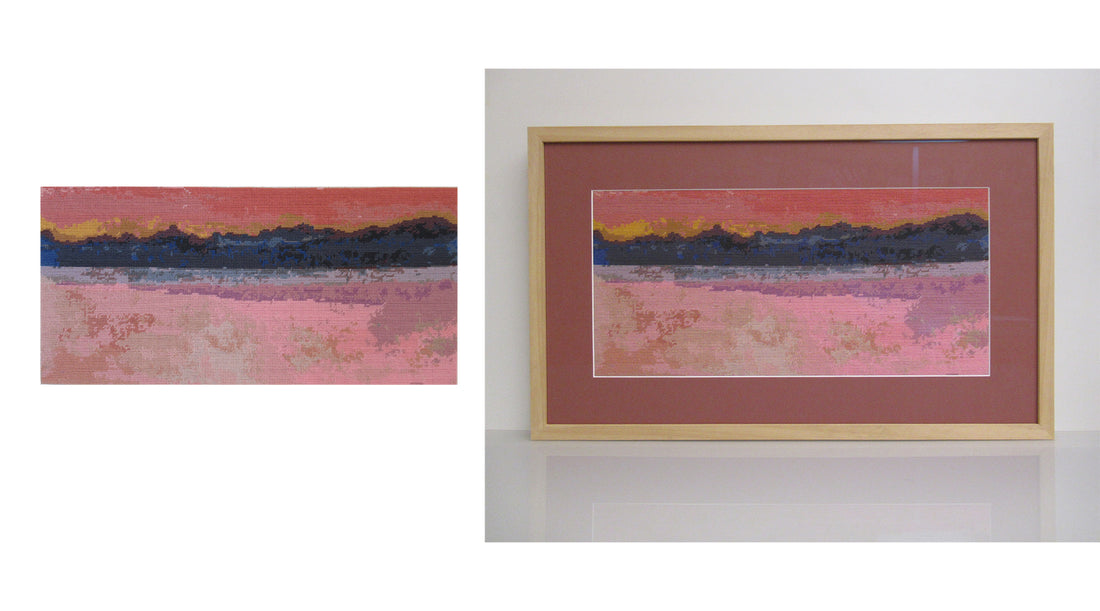
Lake Geneva with Mont Blanc at dawn, 1918 after Ferdinand Hodler. Tapestry embroidery kit, tapestry wool on canvas, 63 x 30 cm.

A frame with a passe-partout offers you many advantages:
-
You have much more flexibility with the final size of your frame and can easily find the required standard size.
-
You do not need to cut the canvas near the embroidery.
-
A well-matched passe-partout color enhances your embroidery.
Choose a base plate that matches the size of your future frame.

Do not use a plastic sheet; you will see why below.

Place a layer of foam (approx. 3-5 mm) on the base plate and secure it with double-sided adhesive tape.

Position the embroidered part of the image precisely in the center of the board. Stretch the canvas and secure it with a stapler.


The mat should be trimmed at the end when you attach your picture with staples. Enjoy the look and the price!
